What Is FCM
According to Wikipedia:
Firebase Cloud Messaging, formerly known as Google Cloud Messaging, is a cross-platform cloud solution for messages and notifications for Android, iOS, and web applications
That sums up why FCM is so popular. Even many AWS users choose FCM for messaging and notifications because it makes things easier for developers. More people are now using data notifications instead of socket programming, which used to be the main way to handle real-time updates. The best part is that FCM is completely free right now, so it’s a great choice for startups and small businesses.
Setting up FCM in Flutter is straightforward. If you have an IDE, you can follow the official documentation to get started. If you haven’t added FCM to your project yet, check out the link below to set it up in your Flutter app.
Firebase Cloud Messaging for Flutter: Follow the instructions in this documentation to set up FCM in your Flutter app.
Prerequisites
You’ll need a basic understanding of the BLoC pattern to follow along. If you want a quick refresher, see the link below. For this project, I’m using the BLoC implementation by @Felangel.
Bloc library documentation: Take a quick look through this documentation to learn the basic concepts behind BLoC.
Make sure your project is already set up for FCM, and that you have some experience with Flutter navigation.
Setting Up Views
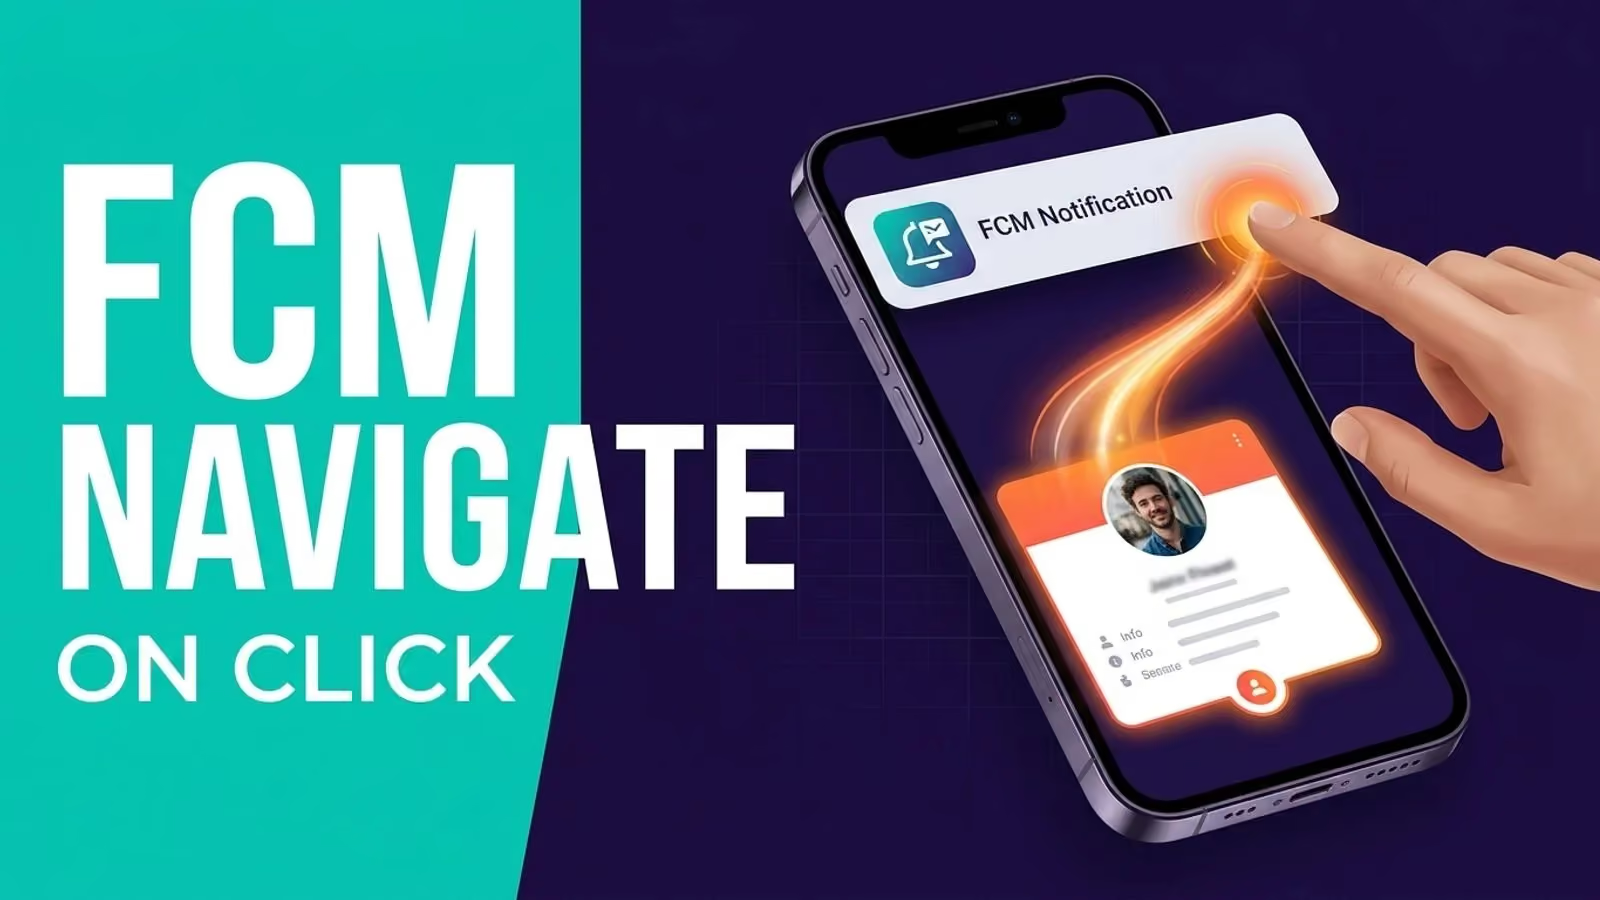
In this example, I’ll create an app with two views. The first view shows a list of documents from a Firestore collection. When you click a list item, it takes you to the second view, which displays the details for that document.
Let’s begin with the second view. It needs to take a DocumentReference as a parameter and show the details for that document. I’ll use a method from an article I wrote earlier.
How to use Future Builders Effectively: This article goes into more detail on using Futures with FutureBuilders, and the same code works here too. Feel free to jump straight to the code at the bottom, or read through to see how it works.
For the first page, I’ll create a ListView that shows the list of DocumentReferences. When you click any item, it will take you to the second page.
void navigateToSecondView(BuildContext context, DocumentReference ref) {
  Navigator.push(
      context,
      MaterialPageRoute(
        builder: (context) => SecondPage(ref: ref),
      ));
}

final refs = <DocumentReference>[];

@override
Widget build(BuildContext context) {
    // ... Parent Widget
    child: ListView.builder(
      itemCount: refs.length,
      itemBuilder: (context, i) =>
          ListTile(
            title: Text(refs[i].path),
            onTap: () => navigateToSecondView(context, refs[i]),
          ),
    ),
}
Setting Up the BLoC
This BLoC needs an event to add DocumentReferences, and its state should show whether it’s time to navigate to the SecondPage. If you know the BLoC implementation from earlier, the code below should make sense.
class UtilEvent {}

class NavigateToView extends UtilEvent {
  final String path;

  NavigateToView(this.path);
}

class UtilState {}

class NavigateToSecond extends UtilState {
  final DocumentReference ref;

  NavigateToSecond(this.ref);
}

class NoNavigation extends UtilState {}

class UtilBloc extends Bloc<UtilEvent, UtilState> {
  @override
  UtilState get initialState => NoNavigation();

  @override
  Stream<UtilState> mapEventToState(UtilEvent event) async* {
    // Event to State mapping
  }
}
Adding Actions
When you send a notification, add a userRef parameter to the data payload. This should contain the path to the document you want to show on the SecondPage when the notification is clicked. The article below explains how to use Postman to send test notifications to your app. Make sure that userRef points to a valid document path in your Firestore collection.
Send Firebase push notifications using Postman: This article explains how to test your FCM push notifications with Postman.
final _firebaseMessaging = FirebaseMessaging();

// Set up FCM token and do other stuff

_firebaseMessaging.configure(
  onMessage: (Map<String, dynamic> message) async {
    print('on message $message');
  },
  onResume: (Map<String, dynamic> message) async {
    print('on resume $message');
    final path = message['data']['userRef'];
    add(NavigateToView(path));
  },
  onLaunch: (Map<String, dynamic> message) async {
    print('on launch $message');
    final path = message['data']['userRef'];
    add(NavigateToView(path));
  },
);
After the event is sent, the UtilBloc will handle it and update the state as needed.
@override
Stream<UtilState> mapEventToState(UtilEvent event) async* {
  switch (event.runtimeType) {
    case NavigateToView:
      final e = event as NavigateToView;
      if (e.path?.isEmpty ?? true) {
        yield NoNavigation();
        break;
      }
      yield NavigateToSecond(Firestore.instance.document(e.path));
      break;
  }
}
If the event has an empty or null document path, the state is set to NoNavigation. If the path has a value, the state changes to NavigateToSecond with the right DocumentReference.
Handling the Navigation
You can use the method from the article above to send test notifications to your app. When you click a notification, the app will start as usual and open the home page. You’ll also see the “on resume” or “on launch” messages in the console. The last step is to trigger navigation to the SecondPage by watching the BLoC’s state from the home page.
@override
Widget build(BuildContext context) {
  final bloc = BlocProvider.of<UtilBloc>(context);

  return BlocBuilder<UtilBloc, UtilState>(
      builder: (context, state) {
        if (state is NavigateToSecond) {
          bloc.add(NavigateToView(null));
          SchedulerBinding.instance.addPostFrameCallback((_) {
            navigateToSecondView(context, state.ref);
          });
        }
        return Scaffold(
          body: Center(
            child: ListView.builder(
                  ...
            ),
          ),
        );
      }
  );
}
Before you navigate to the second view, reset the BLoC’s state. If you don’t, BlocBuilder will run the navigation code again every time it rebuilds. For other ways to handle navigation like this, see this GitHub issue and this article from the Bloc documentation.
You can find all the code at the link below.
Gist Containing all the Code: Follow this link to see all the code discussed in this article, gathered into a single gist.
This isn’t the only way to handle navigation when a notification is clicked in Flutter. There are probably many other approaches, and some might work even better. If you have found a better solution or seen a smarter method, please leave a comment. I’d love to learn from your experience too.